How to Repair Drywall Damage
May 18, 2022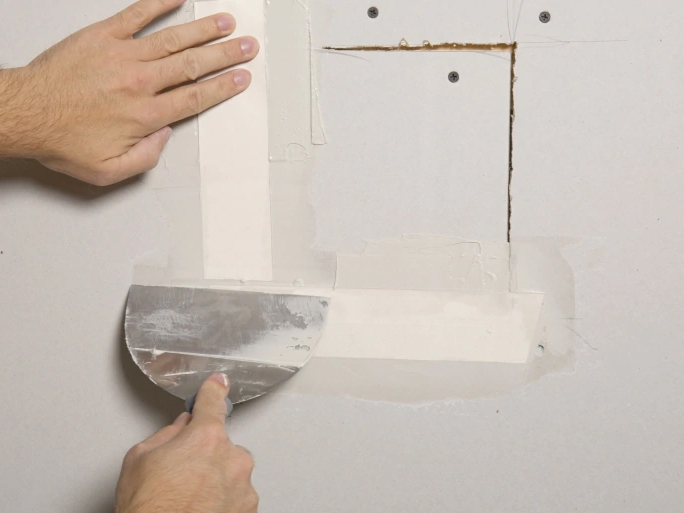
Drywall is relatively simple to install and easy to repair. It’s also easy to repair badly, which can leave a lumpy mess that declares “shoddy” to anyone who enters the room. Depending on your level of aptitude, this may be something to leave to the pros. Performing quality drywall repairs takes a specific level of skill that is only obtained through years of practical experience. With that said, here are few points to consider when faced with drywall damage.
Thin is Better
It’s best to do a repair with three or four thin coats of compound–if possible leaving sanding for just the last coat. Let each coat dry adequately before applying the next one. Also, the most important thing with a repair is to build the joint out wider than just the hole or crack being repaired. This will leave a wider and very shallow slope on all sides, which will eliminate a bump or “mounded” look on the wall.
Gear Up
A drywall repair toolkit is fairly simple. It consists of flexible knives of various widths, an inside-corner knife, a utility knife, a hammer, a screwdriver, a drywall saw and a drill. Some repairs also may require a hand sander, a hacksaw, a nail bar and a level. Chances are good that you already own some of these items. As for materials – drywall compound, mesh tape, paper tape, drywall nails and screws take care of most repairs.
The two most common drywall compounds are lightweight and all-purpose. They both are easy to work with and have a shelf life at room temperature of about nine months. The differences between the two are that the lightweight product weighs about a third less than all-purpose, it dries more quickly and takes less force to sand. All-purpose, on the other hand, bonds stronger for areas that are susceptible to heavy traffic.
Clean Up the Dust
It also bears mentioning that drywall sanding dust is a respiratory irritant. Wear a dust mask when sanding to block airborne gypsum and silica particles. Also, spread a plastic drop cloth nearby. Wipe dust off the drop cloth with a damp sponge, then clean the surrounding areas with a shop vacuum, let the air settle, and finish vacuuming with your household vac.
DYI or Pro?
Most people can handle minor drywall repairs with a little patience and some elbow grease. But larger repairs or flat out replacement can be overwhelming. The best course of action may be to hire a professional company, preferably one that also performs wall texturing and finish painting. That way, all services are under one contractor, making the project go much more efficiently and can save some money as well.